I built the basic frame out of left-over MDF strip using lap joints and PVA where the two crossbeams meet the main longitudinal member. The diagonal braces I cut by eye and attached with superglue.

The wheels are from the old Airfix Napoleonic French Artillery set and are attached (again using superglue) to a plastic rod axle simply glued to the lower surface of the cross-piece.

At this stage I painted everything with slightly thinned PVA for strength.
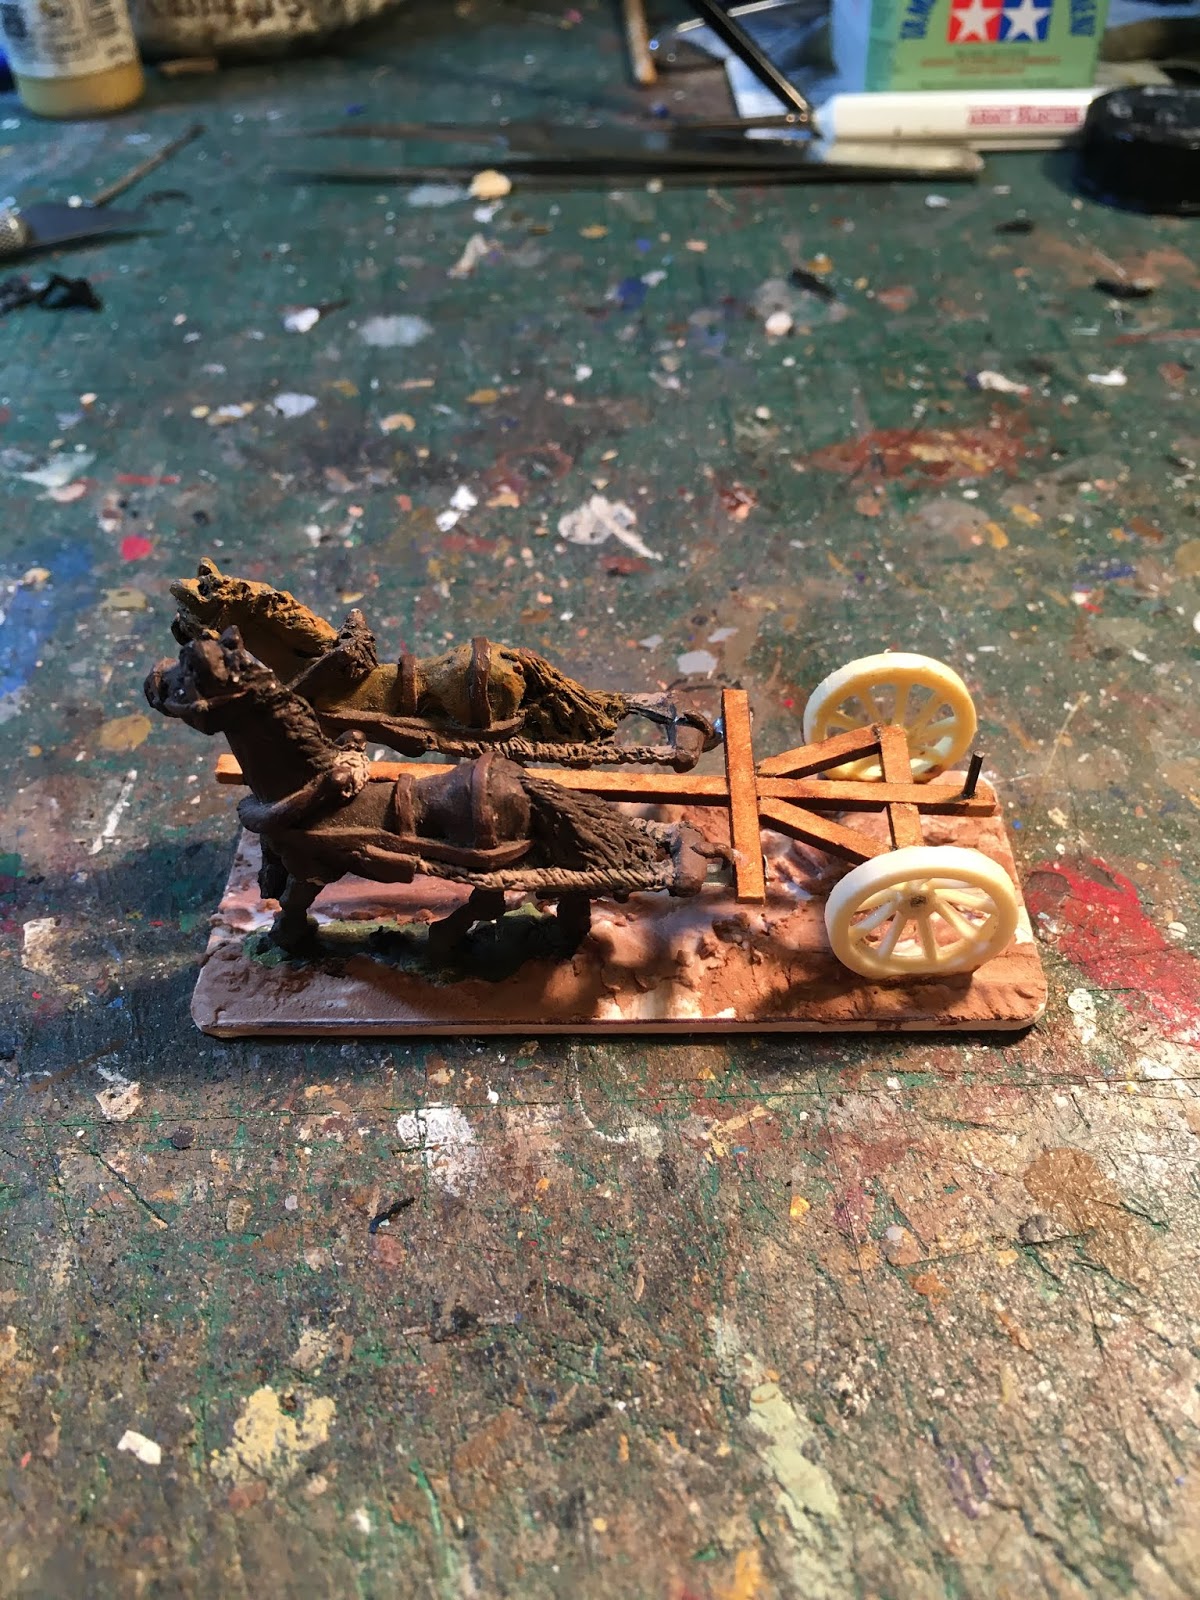
I decided the easiest way to make sure the finished piece was strong enough was to start building straight onto the base it would eventually sit on. First I glued on the horses, having dry fitted everything to work out how far apart they needed to be.

I made a jig from a spare piece of wood to hold the frame whilst I drilled out the hole for the spike onto which the towing eye of the artillery piece will sit. I cut a groove in the wood for the axle to sit in. Of course it would have been easier if I'd thought to do this bit before I'd glued the thing together but there you have it.

A short piece of the same plastic rod I'd used for the axle made the spike.
The next question was how to make the limber sit securely behind the horses. In reality the front cross-piece would have two eyes into which the hooks on the rear of the swingletrees (those wooden bars at the rear of the harness) would seat. No way could I build that and anyway one of the singletree hooks was miscast.
In the end I superglued strips of thick foil (form the top of a wine bottle) from the bottom of each swingletree. With a little bending I could glue these foil hooks to the bottom of the front cross-bar of the limber and fold the spare foil up the rear edge of the crossbar where they are virtually invisible.
I then trimmed the base to size, glued down the wheels to the base (superglue again) and started reinforcing the join with my usual paint-and-Tetrion ground cover.


I always apply the gloop to bases in more than one session, allowing the first lot to set before completing the job. This prevents the base warping too much.
I then got the painting done in one session.

I decided not to repaint the horses but added little detail to the previous (probably twenty-year-old) paint job.


By comparison to modern 28mm model horses these guys are small but then horses and ponies differ in size wildly so I'm not bothered.
This piece should be useful pulling guns whether they're being retrieved from Matamoros by the bandit Cortina or moved along the forest trails of Grand Woebetide.
3 comments:
Nice work. I bought a MDF 28mm limber from xxx, but the end result was similar. Just can't remembe the name.
Cheers Will. To be honest I'd have bought an off-the-shelf limber myself except that I wanted to make sure I ended up with something that was the right size for the horses.
Missed this post, excellent little scratch build and very useful on table.
Cheers, Richard P
Post a Comment