
On the French side, Lt Phillipe's voltigeurs were the first into action. Phillipe planned to occupy the barn in front of the French camp. It lacked windows facing the British but it would provide a secure location from which to flank the British should they pass the tree-lined section of road.

Captain La Roche's line infantry were the next French unit to arrive.


Captain Stowe's men arrived in open column....


Phillipe's voltigeurs soon occupied the barn...

... as Stowe's column approached...

... and as O'Malley's riflemen prepared to climb up the terraced valley side.

Meanwhile, on the British left Fowler's Rifles were advancing...

...when suddenly Ensign Lefebvre's unit of Hussars was spotted at the corner of the convent garden.

Fowler quickly gave orders...

...and before you could sound a silver whistle all of the riflemen were among the tumbled rocks and bushes lining the road.

From boggy ground and rocky, tree-lined roadside sharp cracks of rifle fire rang out...

...two troopers fell from their saddles and Lefebvre turned his men aside. In the open the rifles had made a tempting target but he had been too slow, horrified by the deadly accuracy of the Englishmen's fire, to seize the passing moment. Perhaps the other flank would offer the opportunity to make a vital intervention?


Meanwhile, on the other side of the field, the Baker rifles in the hands of Sergeant O'Malley's men were proving equally accurate. With the briefest of exclamations, Lt Phillipe fell wounded to the floor of the barn.


Meanwhile Lt Fillon was taking steps to defend the convent garden and the precious wagon-load of royal paraphernalia.

One group lined the wall taking precarious perches on the stacked baggage, whilst the other group, led by Fillon, set out to join La Roche's main line.

Then Fillon turned back to lead the defence of the garden wall.
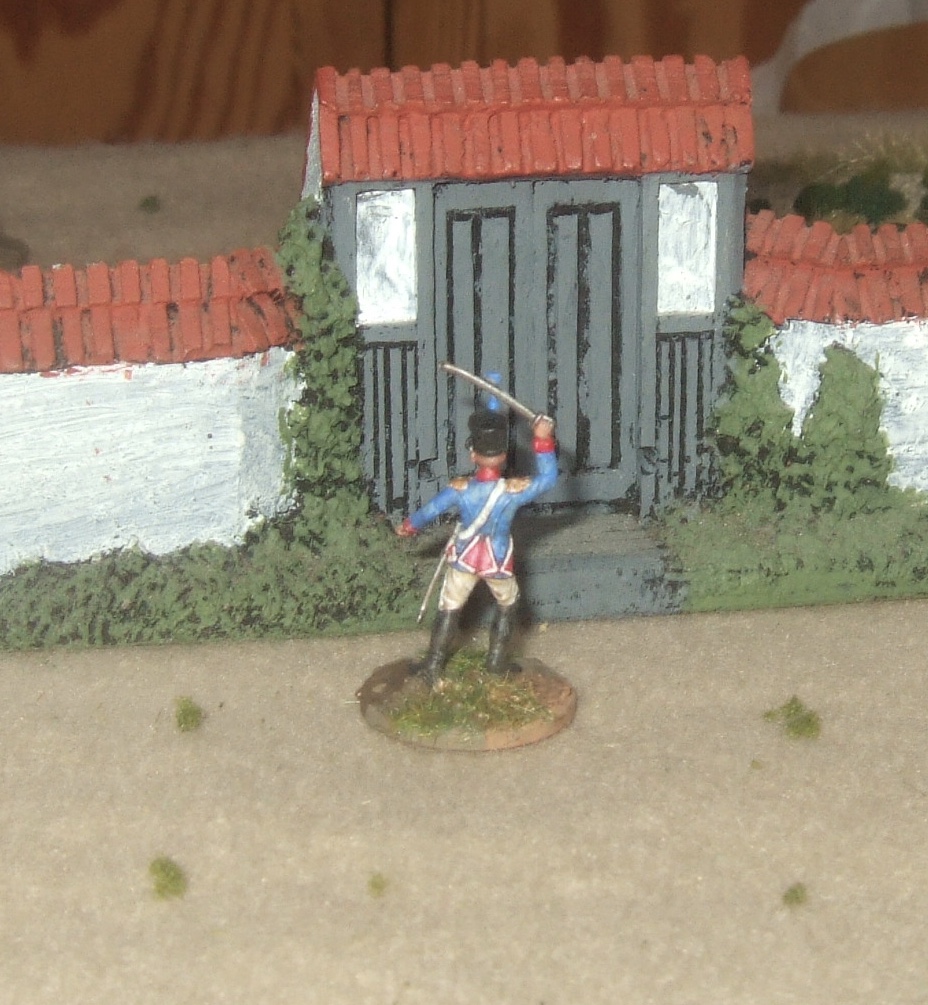
By this stage Captain Stowe had the light company of the West Cheshires into line and pouring volley after controlled volley into La Roche's blue ranks. Dulce de Leche's men also fired, though with more enthusiasm than accuracy, and Fowler's rifles continued to bark their deadly call from among the trees.

However, Lefebvre's hussars could yet save the day for La Belle France! Under galling fire from O'Malley's rifles on the hill they swung round the barn and spotted the open flank of Stowe's line!


This was Lefebvre's chance to atone for his earlier hesitation!

Taken in flank with unloaded muskets the British were surely doomed!

But perhaps the Hussars' faith in their leader was shaken by his earlier lack of steel? With no right to expect survival, still less victory, the West Cheshires got in among the horsemen with the bayonet and soon the Hussars were put to flight!


As the voltigeurs pulled back towards La Roche's (their thinned ranks now closed up to form a shortened column of route) they did so under a crossfire from the riflemen on both flanks...

... as La Roche's column passed through the garden gate, both groups of voltigeurs decided that they had taken all they could. They bolted for the rear and with them went the last shreds of French confidence. An infectious panic gripped the men and La Roche suddenly found himself in the midst of a hopeless rout.

This was a more satisfactory game than the previous one. I had a better idea of how things should work and, with the experience of the first run through under my belt, was in a better position to know what questions to ask in setting up the terrain. That said, the line of terrain features (marsh, treelined road, and barn) across the middle of the table served to disrupt manoeuvre and I think I'll try to avoid doing that in future.
The result swung on a couple of occasions where randomness distinctly favour the British. A ridiculous series of card draws and a couple of well-timed Sharp Practice actions allowed the two units of Rifles on the British left to get off three volleys between them between the hussars arriving on the table and their making their first move. By the time the hussars could move, they had lost two men and taken six points of shock and both rifle groups had ensconced themselves in difficult going.
Then there was the charge into the flank of Stowe's light company men. Rolling 8 or 9 dice to the infantry's four, the hussars should have won the first round of melee. In fact they drew with one kill each. Again, they should have won the second round of melee but contrived to lose it against the odds. At that point the French were doomed.
Altogether this was an exciting game and I'm keen to play some more Sharp Practice 2 with the Saturday Afternoon Wargames crowd.
4 comments:
Great report, that Convent Garden is seeing some action :-)
Cheers, Richard.
Yeah, having made a cock-up of it the first time I thought a second run was called for.
Useful read thanks.
Thanks for looking!
Post a Comment