Tuesday, April 9, 2019

Muskets and Mangoes - A Future Project?

This, with its Blutac stains, rips, and muddy cat paw prints, is the original master map of the Woebetide Islands, location of some of the world's finest mango plantations.


The Woebetides were the setting for a play-by-email campaign I ran over several months in 2000.  The campaign covered the less-than-peaceful coexistence of British and Vichy French colonies in these little-known (OK, fictional) Indian Ocean islands in 1942.  In the end the British launched a victorious operation that installed a pro-deGaulle administration in Charleville.


I recently rediscovered some of the campaign notes and was reminded what great fun it all was.

Meanwhile, I've been hankering to do some Sharp Practice at the earlier end of its timescale - the first half of the 18th century.  The availability of the Warlord Games War of the Spanish Succession figures in plastic is tempting me.


But then again I keep looking at Indian Mutiny games and thinking, "That would be fun - so many great plot ideas!"  

Now, I could do 18th century British vs French in India but I don't know much about the history other than that it all seems to really kick off a bit later; during the Seven Years' War.

Then this morning the thought came to me.  Why not game the first British and French involvement in the Woebetides?  There are plenty of opportunities to involve the Arab traders in their coastal settlements, the African-descended natives in the hills, and probably pirates too!


The final stage in my evolving thought process is that maybe this could be a project for a future Crisis Point?  I rather fancy the idea of having multiple factions, each with multiple objectives, running around a big table that represents the whole of the main island.  It's about a day's forced march from end to end.

The only problem with that idea is that Sharp Practice isn't great at multi-faction games.  But then I've been looking for an excuse to try Muskets and Tomahawks....


Sunday, April 7, 2019

Time for terrain

I've decided to spend a little while working on some 6mm terrain.  Nothing major, just making best use of some bits I've got lying around and trying to give my battlefields a lived-in look.

First up, I'm going to make a generic banked camp for my 6mm Late Roman forces.


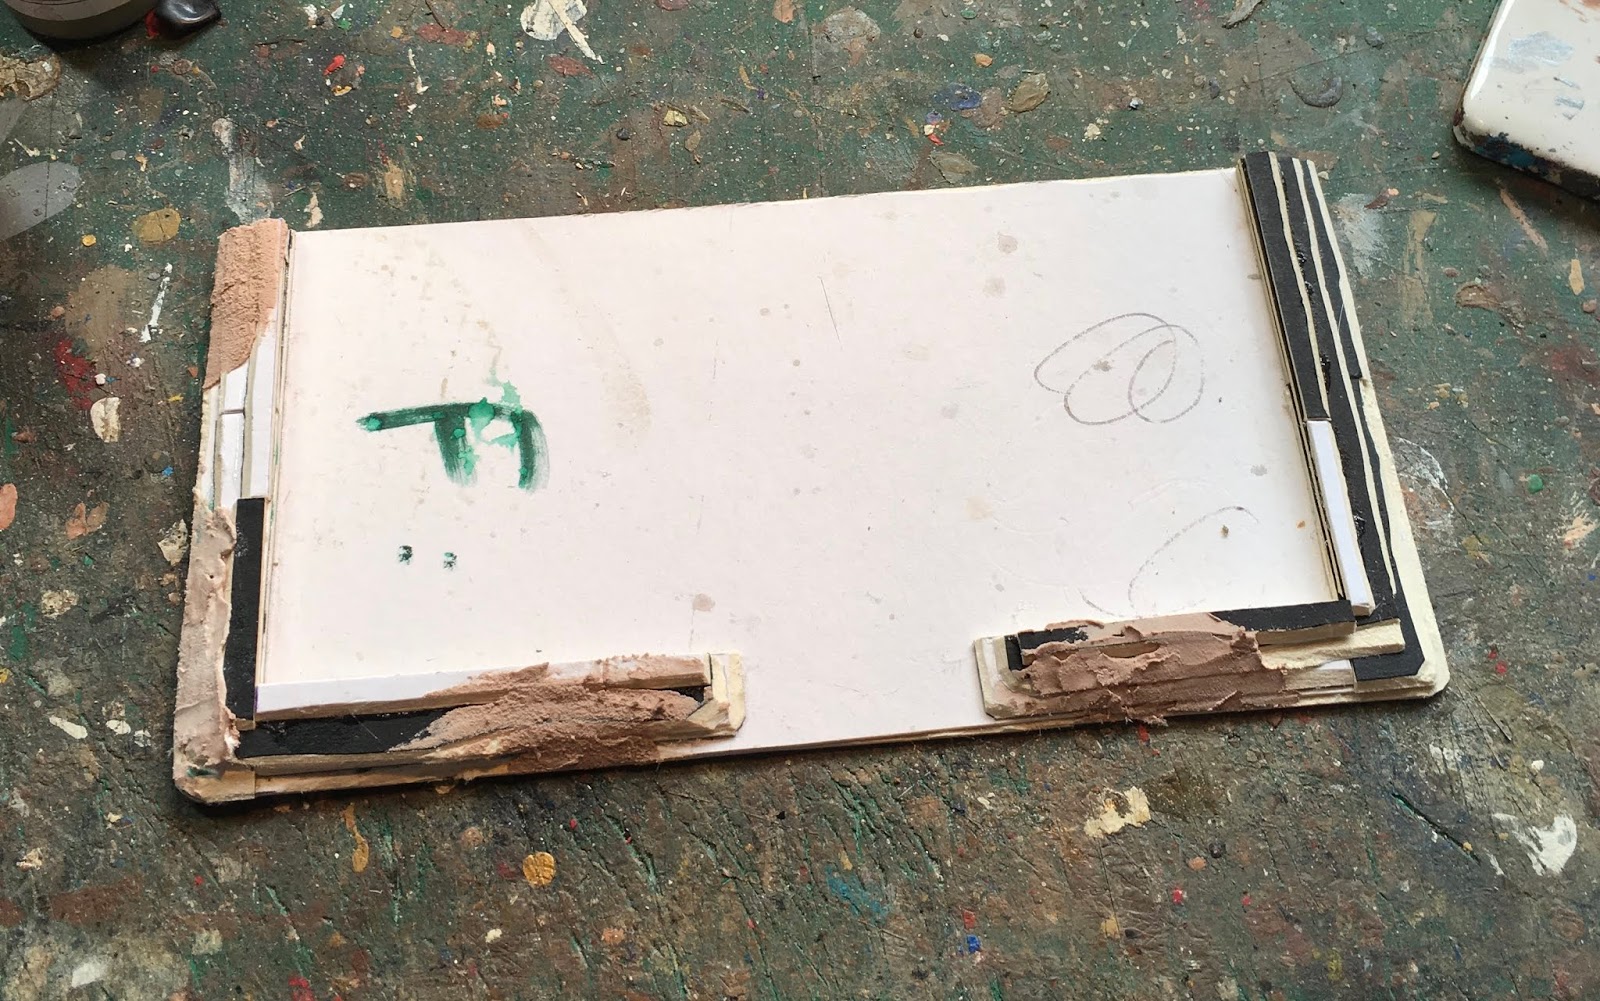
It's very simple; just a piece of artist's mounting board cut to 150x75mm.  That's the size of two squares on my smaller To The Strongest! board. I've started glooping it with my usual coloured tile grout.

I've also dug out this resin castle.  I bought it years ago and it saw use once or twice as a Hordes of the Things stronghold.  It's slightly smaller than 6mm scale and one corner of the cast-on resin base has broken off.


What I think I'll do is mount it on a piece of PVC board shaped to give me a natural-looking hill.  It'll make a nice piece of set dressing for 6mm scale battles in any period from the Middle Ages onwards.  I think I might break off the other square corners as they tend to catch the eye even when buried in gloop.

Apart from that it's just a case of scrabbling around in the bits box to see what else I may have that can be turned into passable 6mm scale stuff.


Wednesday, April 3, 2019

Crisis Point 2019 Report

As usual after Crisis Point, the last thing I want to do is sit down and blog about it at length.  But here's a brief over view of the games.  The weekend went very well; I'm really pleased with the number of people who came and the spirit in which the games were played.

On Saturday we had three games.  On table one we had my Menton 1940 Chain of Command game, of which more anon...


Table two was occupied by Jamie's game of Song of Drums and Shakos.  This was set in 1794 and saw two groups of revolutionary French up against a combined Austrian and Sardinian-Piedmontese force.
  

From what I could see, this seemed to go very well, with four players engrossed right up the the close of play.  

Finally on day one we had big table depicting part of Malta in 1942.  This used Will McNally's excellent terrain on which a fictional German invasion was played out using the Battlegroup rules.


On Sunday, I switched to running a game of To The Strongest! set during the Second Punic War.  

Jamie was keen to play in this game and as there were three other games to hoover up players, Jamie and I ended up playing this game with just the two of us.
  

Surprisingly, for such a fast-play set of rules we didn't quite reach a conclusion.  I think my Carthaginian left was going to collapse before my right wing captured Jamie's Roman camp.

The next game on Sunday was Kevin Tingle's Beirut Force on Force game.


Kevin's game was a masterpiece of low-cost city building, using cardboard and balsa wood instead of expensive resin castings.

Neil Mc and Andy T from the Cold War Commanders group brought a 6mm 1989 Soviet landing at Gallipoli game.  Again lots of cardboard construction was in evidence...

I didn't get to see much of this game in action but the idea of Soviet airborne troops landing at a half-constructed airport was a fun one.

Finally on Sunday, the Malta game continued, this time moving on from the initial airborne attack to a German seaborne invasion.


I'm very pleased with how Crisis Point went.  it was a pleasure to welcome attendees both old and new and in particular to see how the younger gamers (four this year) coped well with a whole weekend of intense table-top action.


Tuesday, March 26, 2019

You'd Have to be a Lunatic, part 5

I did a terrain check last night to see what the terrain I've built for the Menton game would look like en masse.  I'm reasonably pleased with how it went.


The hill-with-a-barn-on-top in the picture above is a new addition in the last couple of weeks as are the two walled yards around the roadside buildings.


The terraced hills are reused from the SOTCW Salerno game at Gauntlet back in 2009. That was before I started this blog so they may not have appeared here before.  The largest of them is slightly warped so I may replace it with a couple of smaller ones.


I'm trying to capture the idea of leafy suburbs of mention.  Richard Phillips is bringing a couple of hotel-sized buildings that would add nicely to the scene.


Monday, March 11, 2019

You'd Have to be a Lunatic, part 4

It's a while since I blogged here but i've been working hard on getting stuff ready for my Menton 1940 game at Crisis Point.  Terrain is the main focus of my efforts, and I'll cover that elsewhere, but I've also done some preparation of forces.

Firstly, with the Blitzkrieg 1940 supplement giving different Force Morale tracks to different platoons, I thought I'd have a go at doing some for the specific units I plan to use:


I created these in Pages on my Mac.  I'll probably laminate them before the game.

I've increased the size of the box for your Chain of Command Dice as it's not unusual to have two or more on the go.  The FM tracking boxes are colour coded to flag up when the first negative impact occurs and the red numbers in the bottom right hand corner of each square show the number of command dice rolled and, in some cases, when a unit must withdraw to its nearest Jump Off Point.

I've completed my French platoon by adding three VB rifle grenadiers from Early War Miniatures.  The Caporal is an old FAA model with a rifle from the spares box modified with a Green Stuff VB launcher cup.


For the Italians I've now completed my Blackshirt platoon (or Camicie Nere Manipolo to be accurate).  They are a mix of Italeri Italian Mountain Troops with the feathers removed from their helmets, Airfix Italians and a few Airfix Japanese for variety.


The LMG teams should have three men but I plan to use a system of unobtrusive markers to indicate when a team differs in strength from the number of figures on the base.

The same will apply to this MMG team.  All the figures are from Early War miniatures.


Also from EWM is this engineer team.  I couldn't resist them when I saw them event though they were in Western Desert uniforms.  I replaced the original heads (which had sun helmets) with steel-helmeted ones.  One came from a SMG-gunner that EWM kindly added to my order and the other is from the Italeri plastics.  I also had to sculpt long breeches to replace the shorts worn by the castings.


The casting was a bit imprecise around the figures' hands and it was impossible to get a strong bond to the pole on which the barbed wire reel is slung.  Also the pole snapped on one side while I was cleaning it up.  I ended up replacing it with brass rod and drilling holes in the figures' thighs into which the rod could firmly sit.  I then sculpted new hands in place.

The Brixia 45mm mortar team is pretty much as it came, I think.  There were a couple of steel-helmeted heads as options.  I may have had to do another shorts-to-breeches conversion; can't recall exactly.


Finally, I wanted to add a mortar spotter to the Italian support options.  He needed to by using a field telephone rather than a radio.  This is what I ended up with...


He started out as an Italeri mountain infantry officer with a pistol.  A head transplant from another Italeri figure gave him a steel helmet.  I cut way his pistol and threaded some thin wire through his hand.  The wire was from one of those paper ties for a food bag.

I then sculpted the telephone handset and the satchel containing the phone from Green Stuff.  The wire goes into the satchel and then comes out.  It winds round a small cable drum that came with the engineer team, and then runs to the edge of his base.

There's a 47mm infantry gun and a platoon of CV3/33 tankettes to photograph too.  I'll get them posted shortly.


Wednesday, February 27, 2019

I've not reported yet on the game of To The Strongest we (Gus, Ron, Leo, Arthur and I) played a couple of weekends ago.

I don't want to share too much here at this stage as it's one of the games I plan to run at Crisis Point.  However, here are a few pictures....


There's a real mix of figures in 25/28mm scale, ranging from very old Lammings to modern plastics from Victrix.


Thursday, February 14, 2019

Shot, Steel & Stone - a playtest

I've been off work with equine flu but fortunately my condition's now stable.  (I'm here til Tuesday, try the veal).  So I took advantage of a day's convalescence to try out Shot, Steel & Stone.

This is the set of horse and musket rules in Henry Hyde's The Wargaming Compendium.  They are advertised as covering the period 1685-1845 so I figured they'd be spot on for my 6mm Great Northern War collection.

The rules use element bases and, at least in theory, individual figure removal. However, it's clear from photographs of games in action that most players have their figures permanently mounted on the element bases and use some means of tracking the loss of strength points.  I used a notebook with stylised depictions of each unit.


I ran a solo game based roughly on the scenario Henry uses to illustrate the rules in the book.  The forces used were bits and bobs of my GNW Russians and Poles transposed respectively into the imagi-nations of Zheltarus and Tszervonsk.

SSS (let's call it that) has varying sized units from extra-small (one base) to extra large (six bases).  This means that my four-base units, built with Maurice in mind, are "Large" in these rules.  This doesn't seem to be a problem though.

Also not a problem, as far as I can see, is the fact that my element bases are square rather then slightly wider-than-deep.

Anyway, on to the game.  Some forces of Tszervonsk were encamped at a bridge near the town of Lubomir (a centre of the Tszervonskian brewing industry).  They are led by the competent general Dragomir Dragomirov.  The camp can be seen to the left of the river in the picture below.


The only troops ready for trouble are two squadrons of the King's Valaks - A class, unarmoured, skirmishing cavalry with lances and bows in SSS terms.  They are patrolling the far side of the river.

Oh and a small patrol of the Lubomir Militia are guarding the bridge...


Approaching was a Zheltarussian detachment led by the hesitant Robert McCrumb.  We know he's hesitant having generated his character previously.  McCrumb has two infantry battalions, a regiment of dragoons, a regiment of cossack, and a couple of guns.

Turns are alternate in SSS.  The Zheltarussians went first and were able to bring on three units.  Hunni's cossacks dashed straight up the road making for the bridge.  The Poliakov Dragoons moved off to menace the right squadron of King's Valaks and Lukin's Regiment marched up the road.

Below we see the position before the first Tszervonskian turn....


Things then got moving quickly.  The right squadron of the Valaks took a reaction test to see if they could charge the Poliakov Dragoons. Being skirmishing cavalry they didn't need ordering to do this being used to operating away from their general's direct influence.  Unfortunately they failed he test so badly that they ended up retreating right off the table!

On the other flank the left squadron were delighted to charge the temptingly exposed flank of Hunni's Cossacks.  The results were spectacular.  Half of the Cossacks were killed in the charge and the Cossack regiment disintegrated.


This, however, left the remaining Valaks rather exposed.  Lukin's Regiment formed line astride the road and let fly a devastating volley.  The remaining Valaks were slaughtered almost to a man.


Combat is straight-forward.  For each base firing, roll a number of six-sided dice determined by the type of unit.  Modify the number needed to score a hit for things like range (three brackets), cover, target formation, and of course that old favourite "first fire".   The target then gets to try a saving throw for each hit.  The save number varies depending on who's hit you - 3+ against pistols but sixes needed if you're shot at by artillery.


I took my time with the game, not hesitating to go away and read the book if I didn't understand how something was meant to work.

When I needed to stop we'd reached the point where both sides had sent cavalry units along the river looking for places where it could be forded.  Both were ultimately successful.


Below we see Dragomirov's Panczerny crossing the river.


I decided that that the position was rather in favour of the Zheltarussians.  They had their two infantry battalions somewhat better positioned to take on the enemy horse whilst the Lubomirsk Regiment was in danger of being pinned against the river by the marauding Zheltarussian dragoons and decimated by the enemy artillery.

I enjoyed these rules and would like to get them to a Saturday Afternoon Wargame soon.

I still have a few queries.  A unit disintegrates when it reaches half-strength.  But is that half-strength in bases or figures/strength points?

With a normal unit being three bases this is a key question.  A three base battalion of close order infantry will have 18 strength points.  Does it fall apart when it's lost nine strength points or when it's lost two bases?

I'm also a bit unclear on reaction tests to charge.  Hopefully an email to Henry will clear things up.