Late on Christmas Eve, while the rest of the family were glued to Strictly or some such TV entertainment, I decided to try out one of my new battle-mats.
In my workshop there's an old plan-chest that provides a small gaming space if I remove the crap usually covering it and if I don't mind getting a sore back whilst playing. The "Grassy" mat folded in two covered it nicely.
I fancied a little TacWWII and went with the smallest scenario from this venerable volume.
The Road to St Omer sees the British 3rd Battalion the Royal Tank Regiment (3RTR) clash with lead elements of the German 1st Panzer Division just south of Calais in May 1940.
This was one of my contributions to the book and I hadn't played it since play-testing in 2000 but I knew that I had all of the models and could whip up an approximation to the terrain with mostly things I had to hand. I'm quite pleased with how it looked.
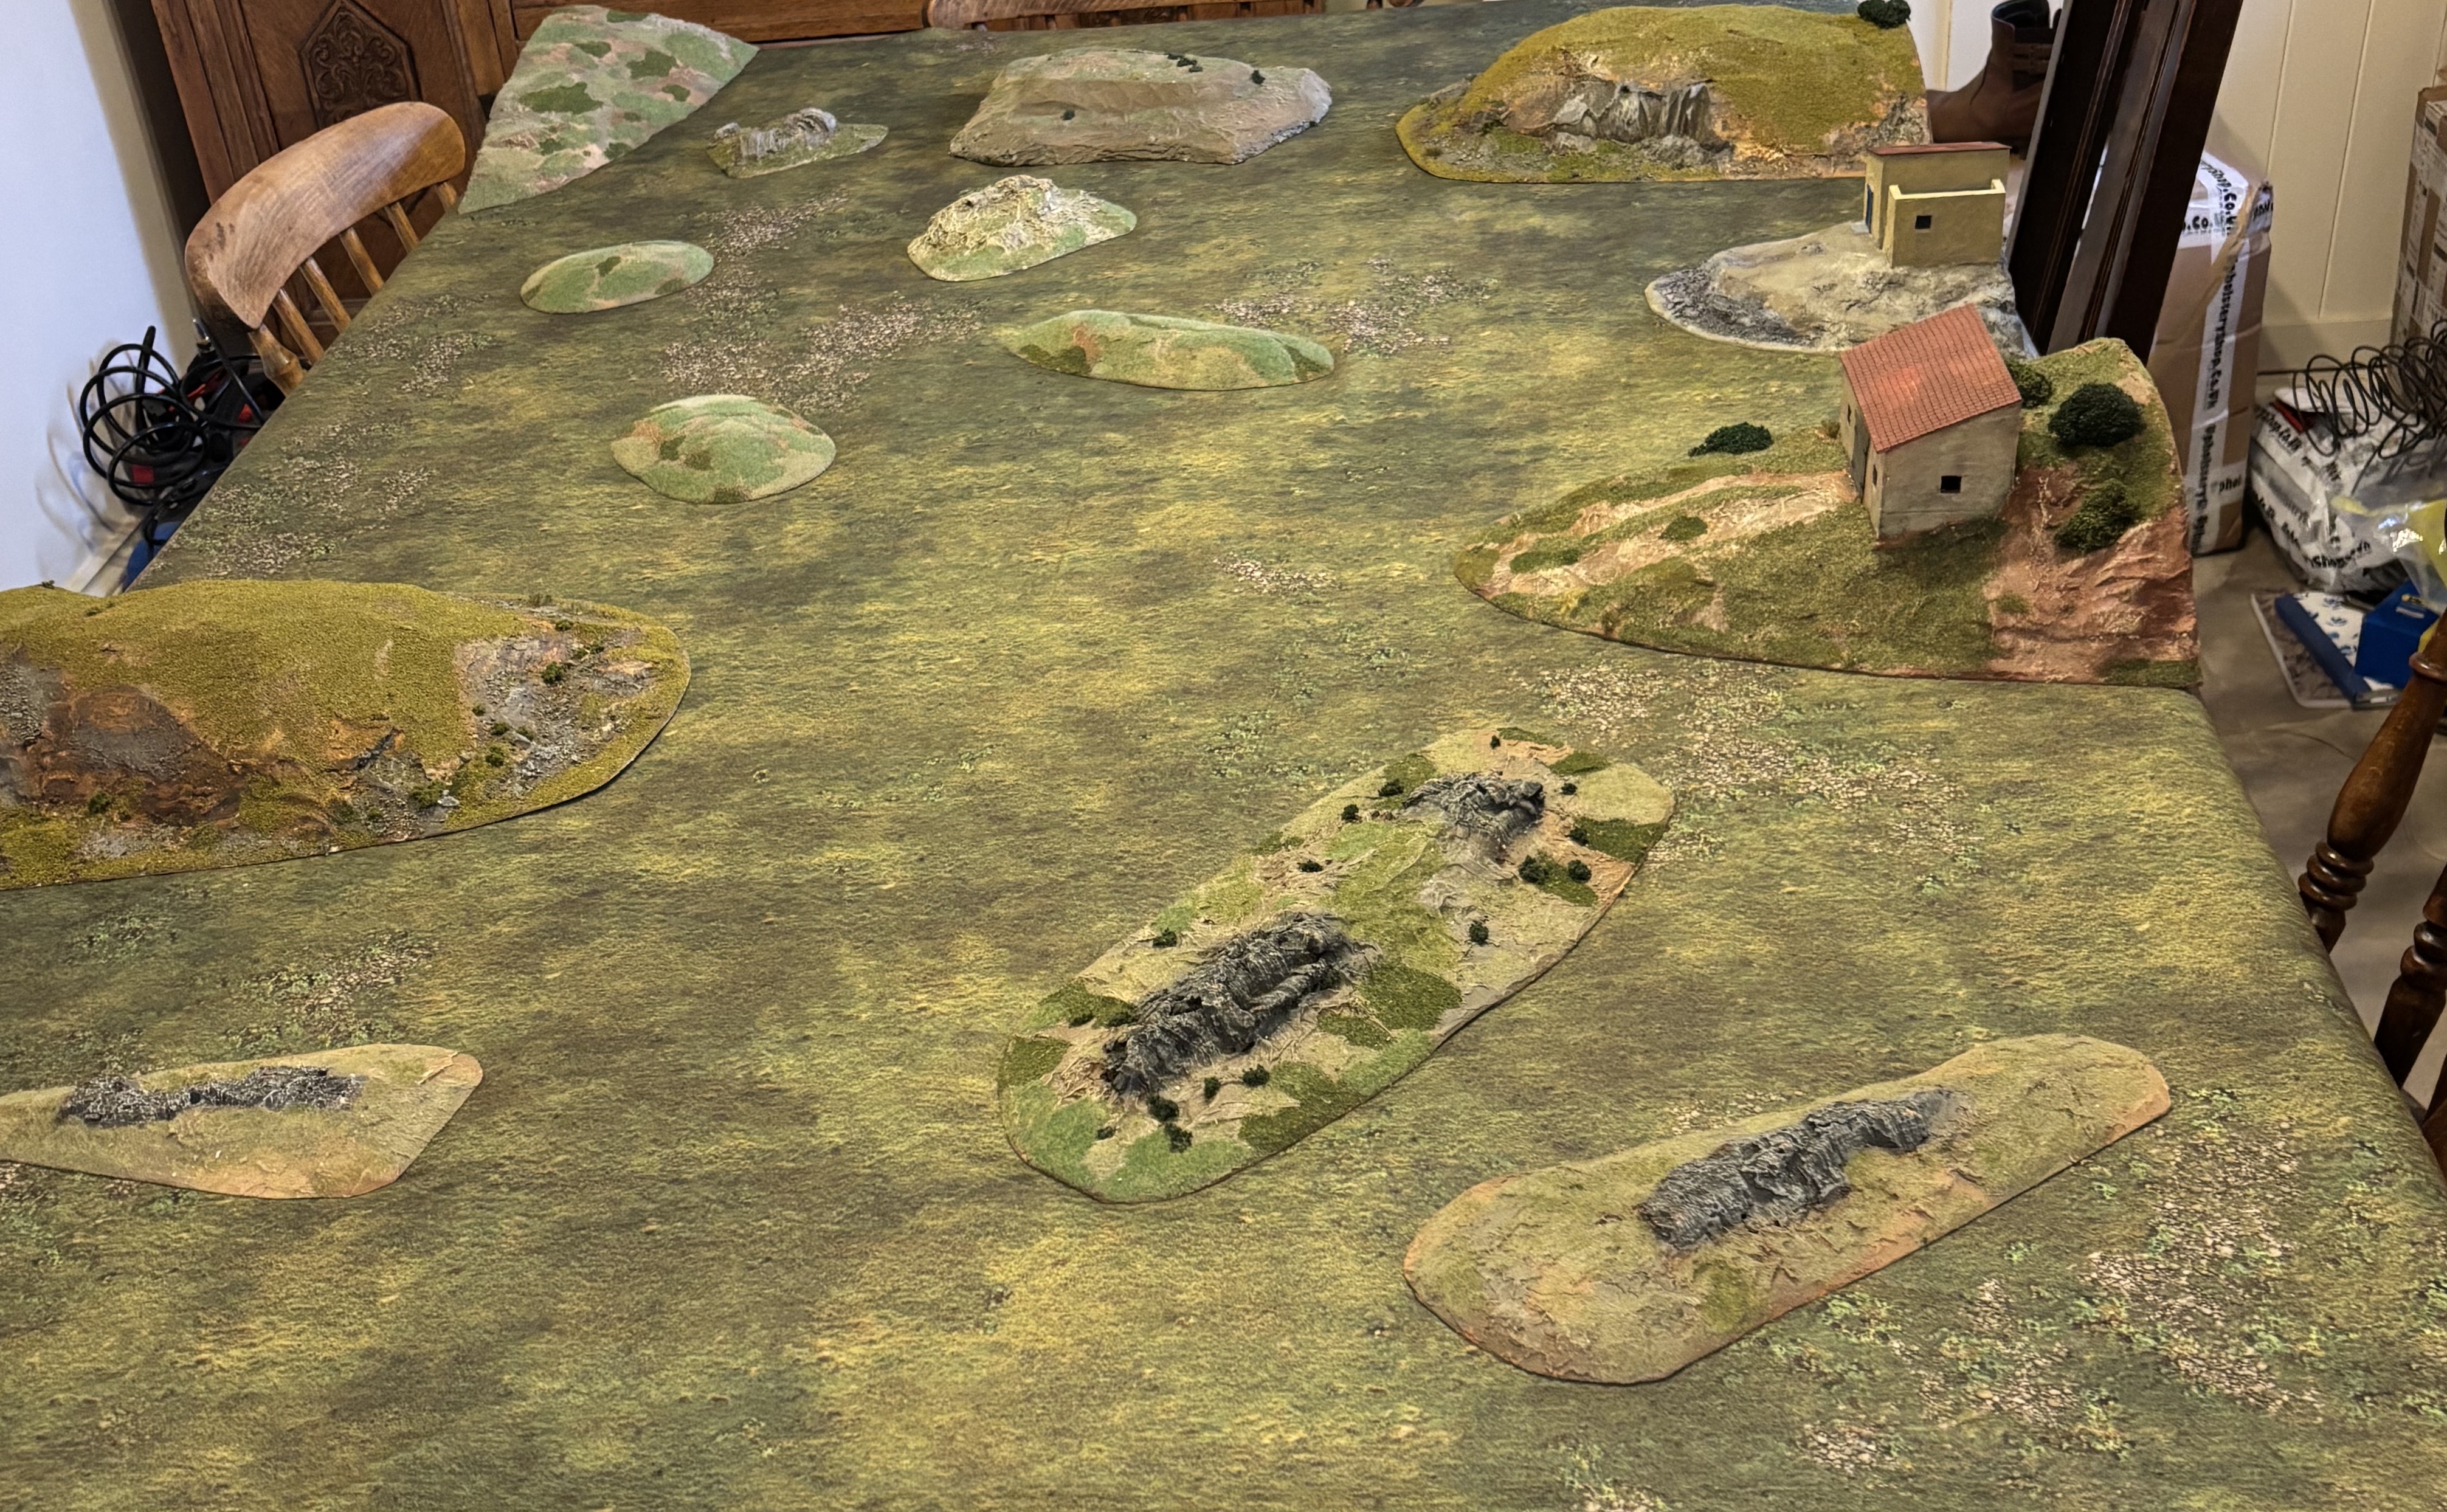
Near the centre of the table is a sunken road that I marked with some clump foliage but then I thought, "I could do better than that".
A quick scrabble through the terrain material stores (in the same plan-chest) provided off-cuts of PVC board and foam core. Cut, chamfer, glue, apply quick-drying Polyfilla, paint, PVA, apply mix of flock and static grass and you have a couple of "sunken road markers". Probably took me less than an hour including time for the Polyfilla to set and the paint to dry.
While waiting for the rest of the family to get up on Christmas Morning I made a start on playing the scenario solo. It's an odd one, with armoured companies (in this case a German armoured car company and a British tank squadron) blundering into each other, in column of route, at point-blank range.
It's challenging for the British, in their first action of the war, to shake themselves out into a decent fighting formation against fully worked-up recon troops of 1st Panzer Division who have already fought their way across Belgium and France. I rated 3RTR as Tac 7 whereas the Germans are Tac 5. This means the Brits have a 40% chance of changing Mode while the Germans are on 60%.
In between domestic duties I managed to get through five of the scheduled eight game turns. The close encounter range made for a bloody opening with one of the German armoured car companies losing three platoons straight away for the loss of one British tank troop.
When researching the scenario I knew it would play oddly in that both sides have mostly (or in the British case entirely) armoured elements but also a number of units with little or no anti-armour capability. This made for some interesting tactical choices.
3RTR's two cruiser tank squadrons clashed with German companies with a mix of armoured car types. The British 2-pounder is superior to the 20mm cannon carried by the SdKfz 222s and 231s but the German companies are larger (six models to three) and so tend to be a little more robust when it comes to morale tests.
As the scenario proceeds, additional German companies arrive, the first being a heavy company with three Panzer IV troops.
As the Brits advanced across the railway line they were met by stiffening German power. By the time of the pic below, 3RTR's A Squadron had driven off their German opposite numbers but been forced to flee themselves. Here we see B Squadron with all three troops neutralised and with C Squadron's Light Tanks Mk VI advancing on their flank.
At this point A Squadron badly failed its test to rally and entirely lost cohesion, the remnants being seen to flee through Cocquelles. This triggered a Battalion Morale Test with resulted in a "Halt" result.
Turn five saw a light tank company (Panzers II and III) arrive on the German left and although their heavy company was forced to retire, this was not before it had wiped to 3RTR's B Squadron. With a second light company arriving on game turn six and the British reduced to two squadrons of light tanks, I decided that Brigadier Nicholson had arrived and ordered the British force to withdraw into the Calais perimeter.
If you've seen the film Darkest Hour, you'll know that the Calais garrison will be sacrificed to delay the German advance on Dunkirk. Most of 3RTR's tanks will end up being pushed into the harbour to prevent their capture by the Germans.
As always I was delighted by the way TacWWII makes for an engaging narrative. I could readily envisage the British CO's frustration in trying to put together a battle line in the face of an aggressive enemy, particularly when a Tac roll revealed that (as happened historically) the HE rounds for his close support tanks' guns had been left behind on Southampton Dock.
More TacWWII must follow in 2025!