I put out a call for players for a game last Saturday and it looked at first like we'd be quite small in number so I decided on Lion Rampant; something I can't put on if we have a large number of people playing and something we haven't played for a while. Despite a sudden, last minute rush of interest I managed to stick with the plan but with two 28 point retinues each divided in two.
The table depicted an area in the foothills. The far end (where new player Harry is sitting in the above photo) was pretty open with just a wheat field (cover only; not rough ground) and a gentle hill. The near end was dominated by rough going where the road branched either side of an impassible rocky pinnacle.

We were using my fifteenth century Swiss and Burgundians and playing the Lion Rampant rulebook scenario "Hammer and Anvil". This has a returning raiding party (in this case the Swiss) in danger of being caught between two groups of the enemy (the Burgundians). In the picture above, Jamie's half of the Burgundians would deploy around the road junction, while Andy and Harry's Swiss would enter at the far end, followed a turn later by Leo's half of the Burgundians.

The picture above shows Andy's half of the Swiss beginning their advance. On the far left of the picture a unit of pikemen are on the road. On their left at the foot of the hill is a unit of Italian mercenary crossbowmen and to their left in turn there's a mounted crossbow unit. The two units that have moved forward are one of halberdiers (Fierce Foot in Lion Rampant terms) and one of handgunners (Bidowers).
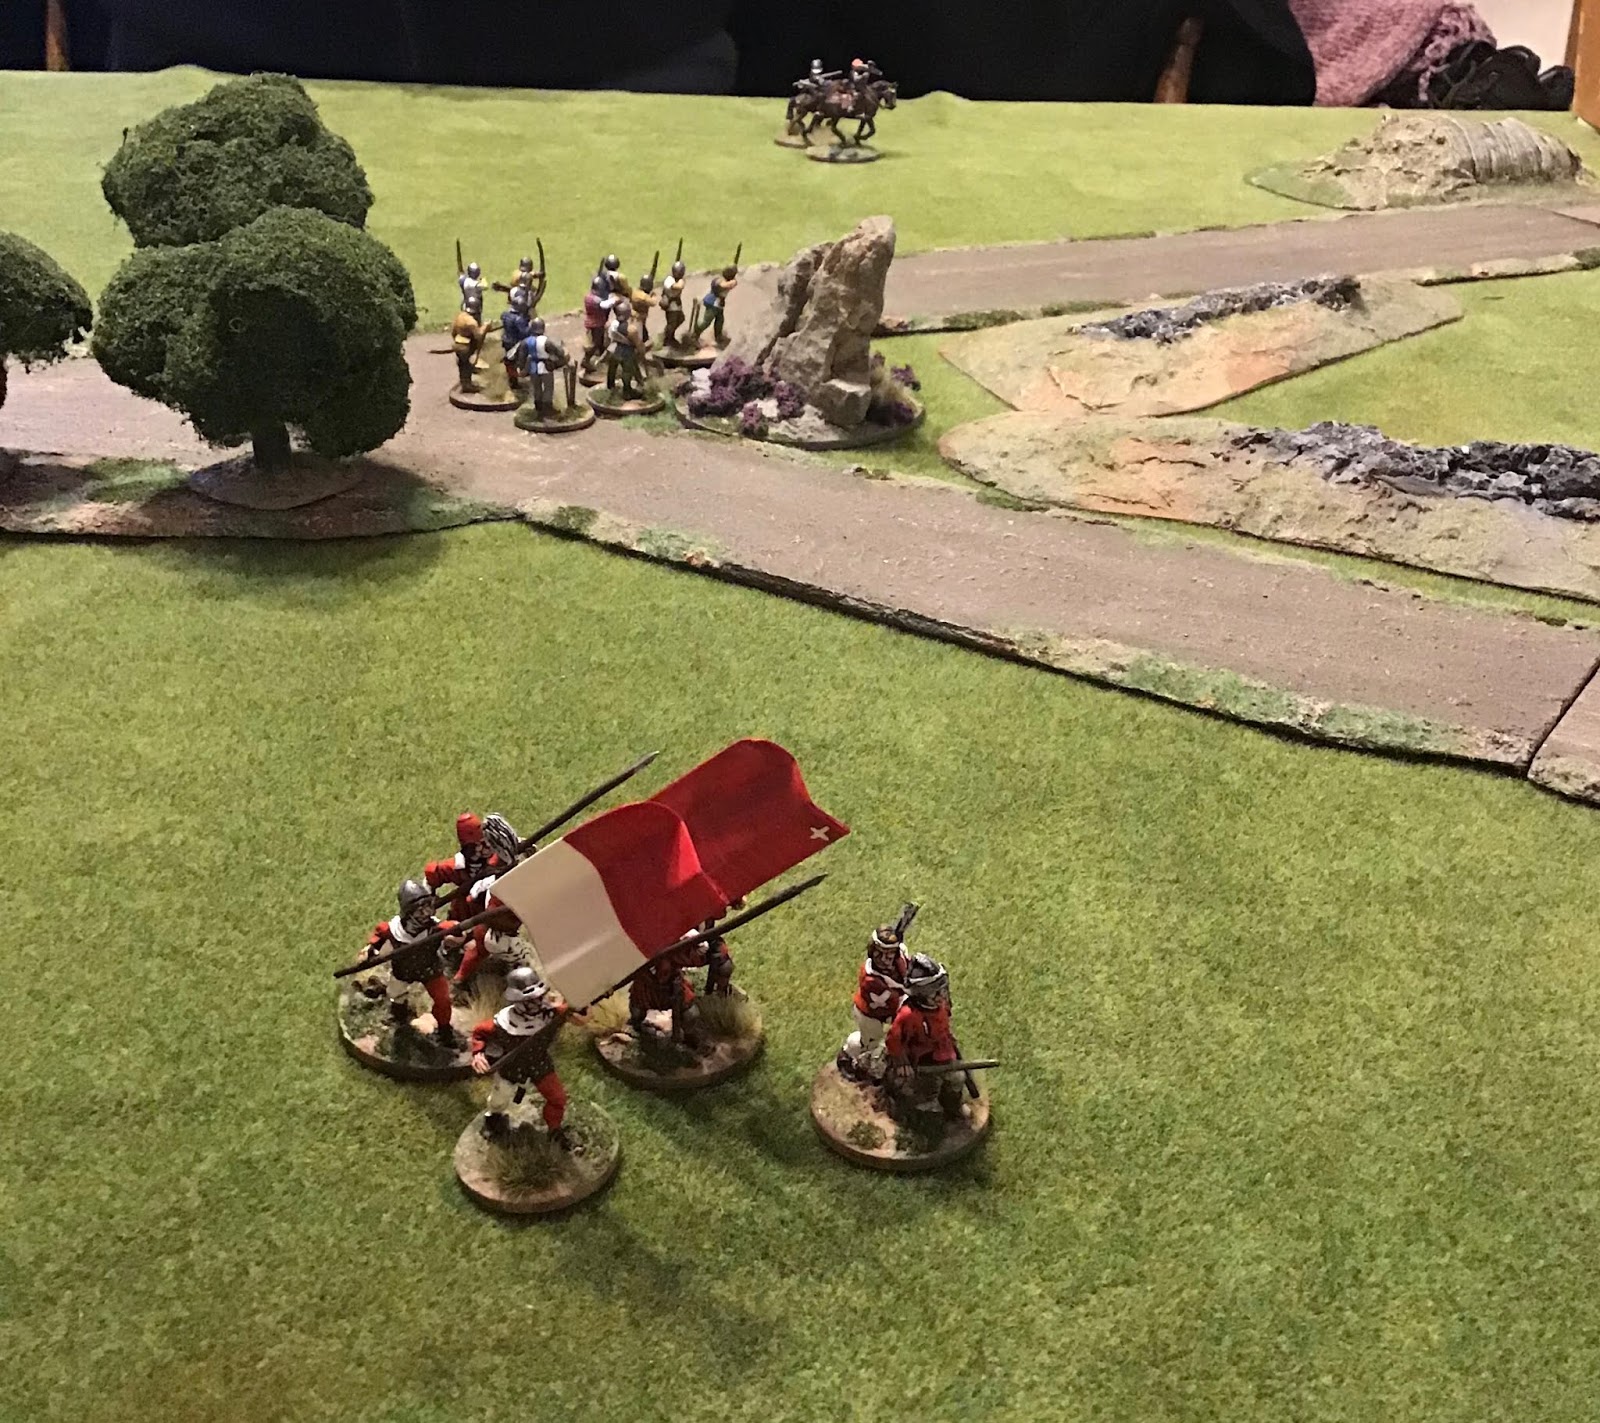
As required by the scenario, Jamie deployed his Burgundians in two locations. A unit of Bidowers and a group of Mounted Men At Arms were at the road junction...

...while a unit of ordinance longbowmen (Expert Archers) entered from the road on his right flank.

Both sides then manoeuvred. The Swiss on the left (under Andy's control) made pretty good progress while on the right, Harry's Swiss seemed to find it hard work crossing the wheat-field. It wasn't bad going; he just couldn't make the required activation rolls!


At the start of game turn 2 Leo could start dicing to bring on his forces immediately behind the Swiss force. In fact, it emerged, rather too close behind the Swiss force.
The picture below shows the remains of a unit of Irish kern (Bidowers) they have just fallen back from melee with the Swiss mounted crossbowmen in the hill. Meanwhile the Burgundian coustilliers, on the left side of the road, is about to be shot at by the Italian mercenary crossbow-men.

Meanwhile the rest of the Swiss were advancing towards the road junction.

Jamie's Burgundian Men At Arms now charged Harry's Swiss halberdiers and routed them.

Then (although reduced severely in numbers) they charged the left hand of Harry's two pike units. Two pikemen were killed but the result was catastrophic. Harry rolled snake-eyes on the Courage Test and pikemen routed!

The field was now looking distinctly empty as units disintegrated all over the place. Three Swiss units were left with a chance of getting past the Burgundian "anvil"; a unit bidowers and another of pikemen on the right and the remains of the mounted crossbowmen on the left.

Jamie's longbowmen were obviously going to be the key decider of the outcome.

In what might have been a mistake the longbowmen decided to target the weak-in-numbers but fast-moving mounted crossbows. Their shots were ineffective and the crossbows became the first Swiss unit to exit the table.

In the next turn, however, they about-turned and launched a wicked volley of arrows at the remaining Swiss pikes. The resulting Courage Test saw the pikes break and with them went the last chance the Swiss commanders had of winning the scenario.
It was nice to get these figures back on the table and we all enjoyed the fast moving action of Lion Rampant. In retrospect I think it would have been better for the Burgundians to have waited before bringing on the "Hammer" force. Allowing the Burgundians to advance and clear some space on the baseline would have given them more flexibility of deployment and time to shoot at on-coming Swiss units.
We got finished about twenty to four and had a few games of Tsuro afterwards. A most enjoyable return to Saturday Afternoon Wargames.
2 comments:
Looks like a good game and a nice return to getting some regular games in. I look forward to getting a game in myself as soon as I can!
Thanks Neil!
Post a Comment