The Russo-Turkish War of 1711 was a short-lived, obscure sideshow of the Great Northern War. The Kuban Campaign was a short-lived, even-more-obscure sideshow of the Russo-Turkish War of 1711. As such, it's ideal for those of us with penchant for lesser-known historical settings.
I've been wanting to make more use of my 6mm Great Northern War miniatures for some time so in the hope of inspiring myself, I pulled off the shelf Nick Dorrell's Peter the Great Humbled, The Russo-Ottoman War of 1711.

The problem is that I'm not presently motivated to relearn Shot, Steel and Stone or to learn Twilight of the Sun King, the two sets of rules in my library that are most obviously relevant. I decided therefore to see if I could use my 6mm chaps to fight an action from the period with The Pikeman's Lament.
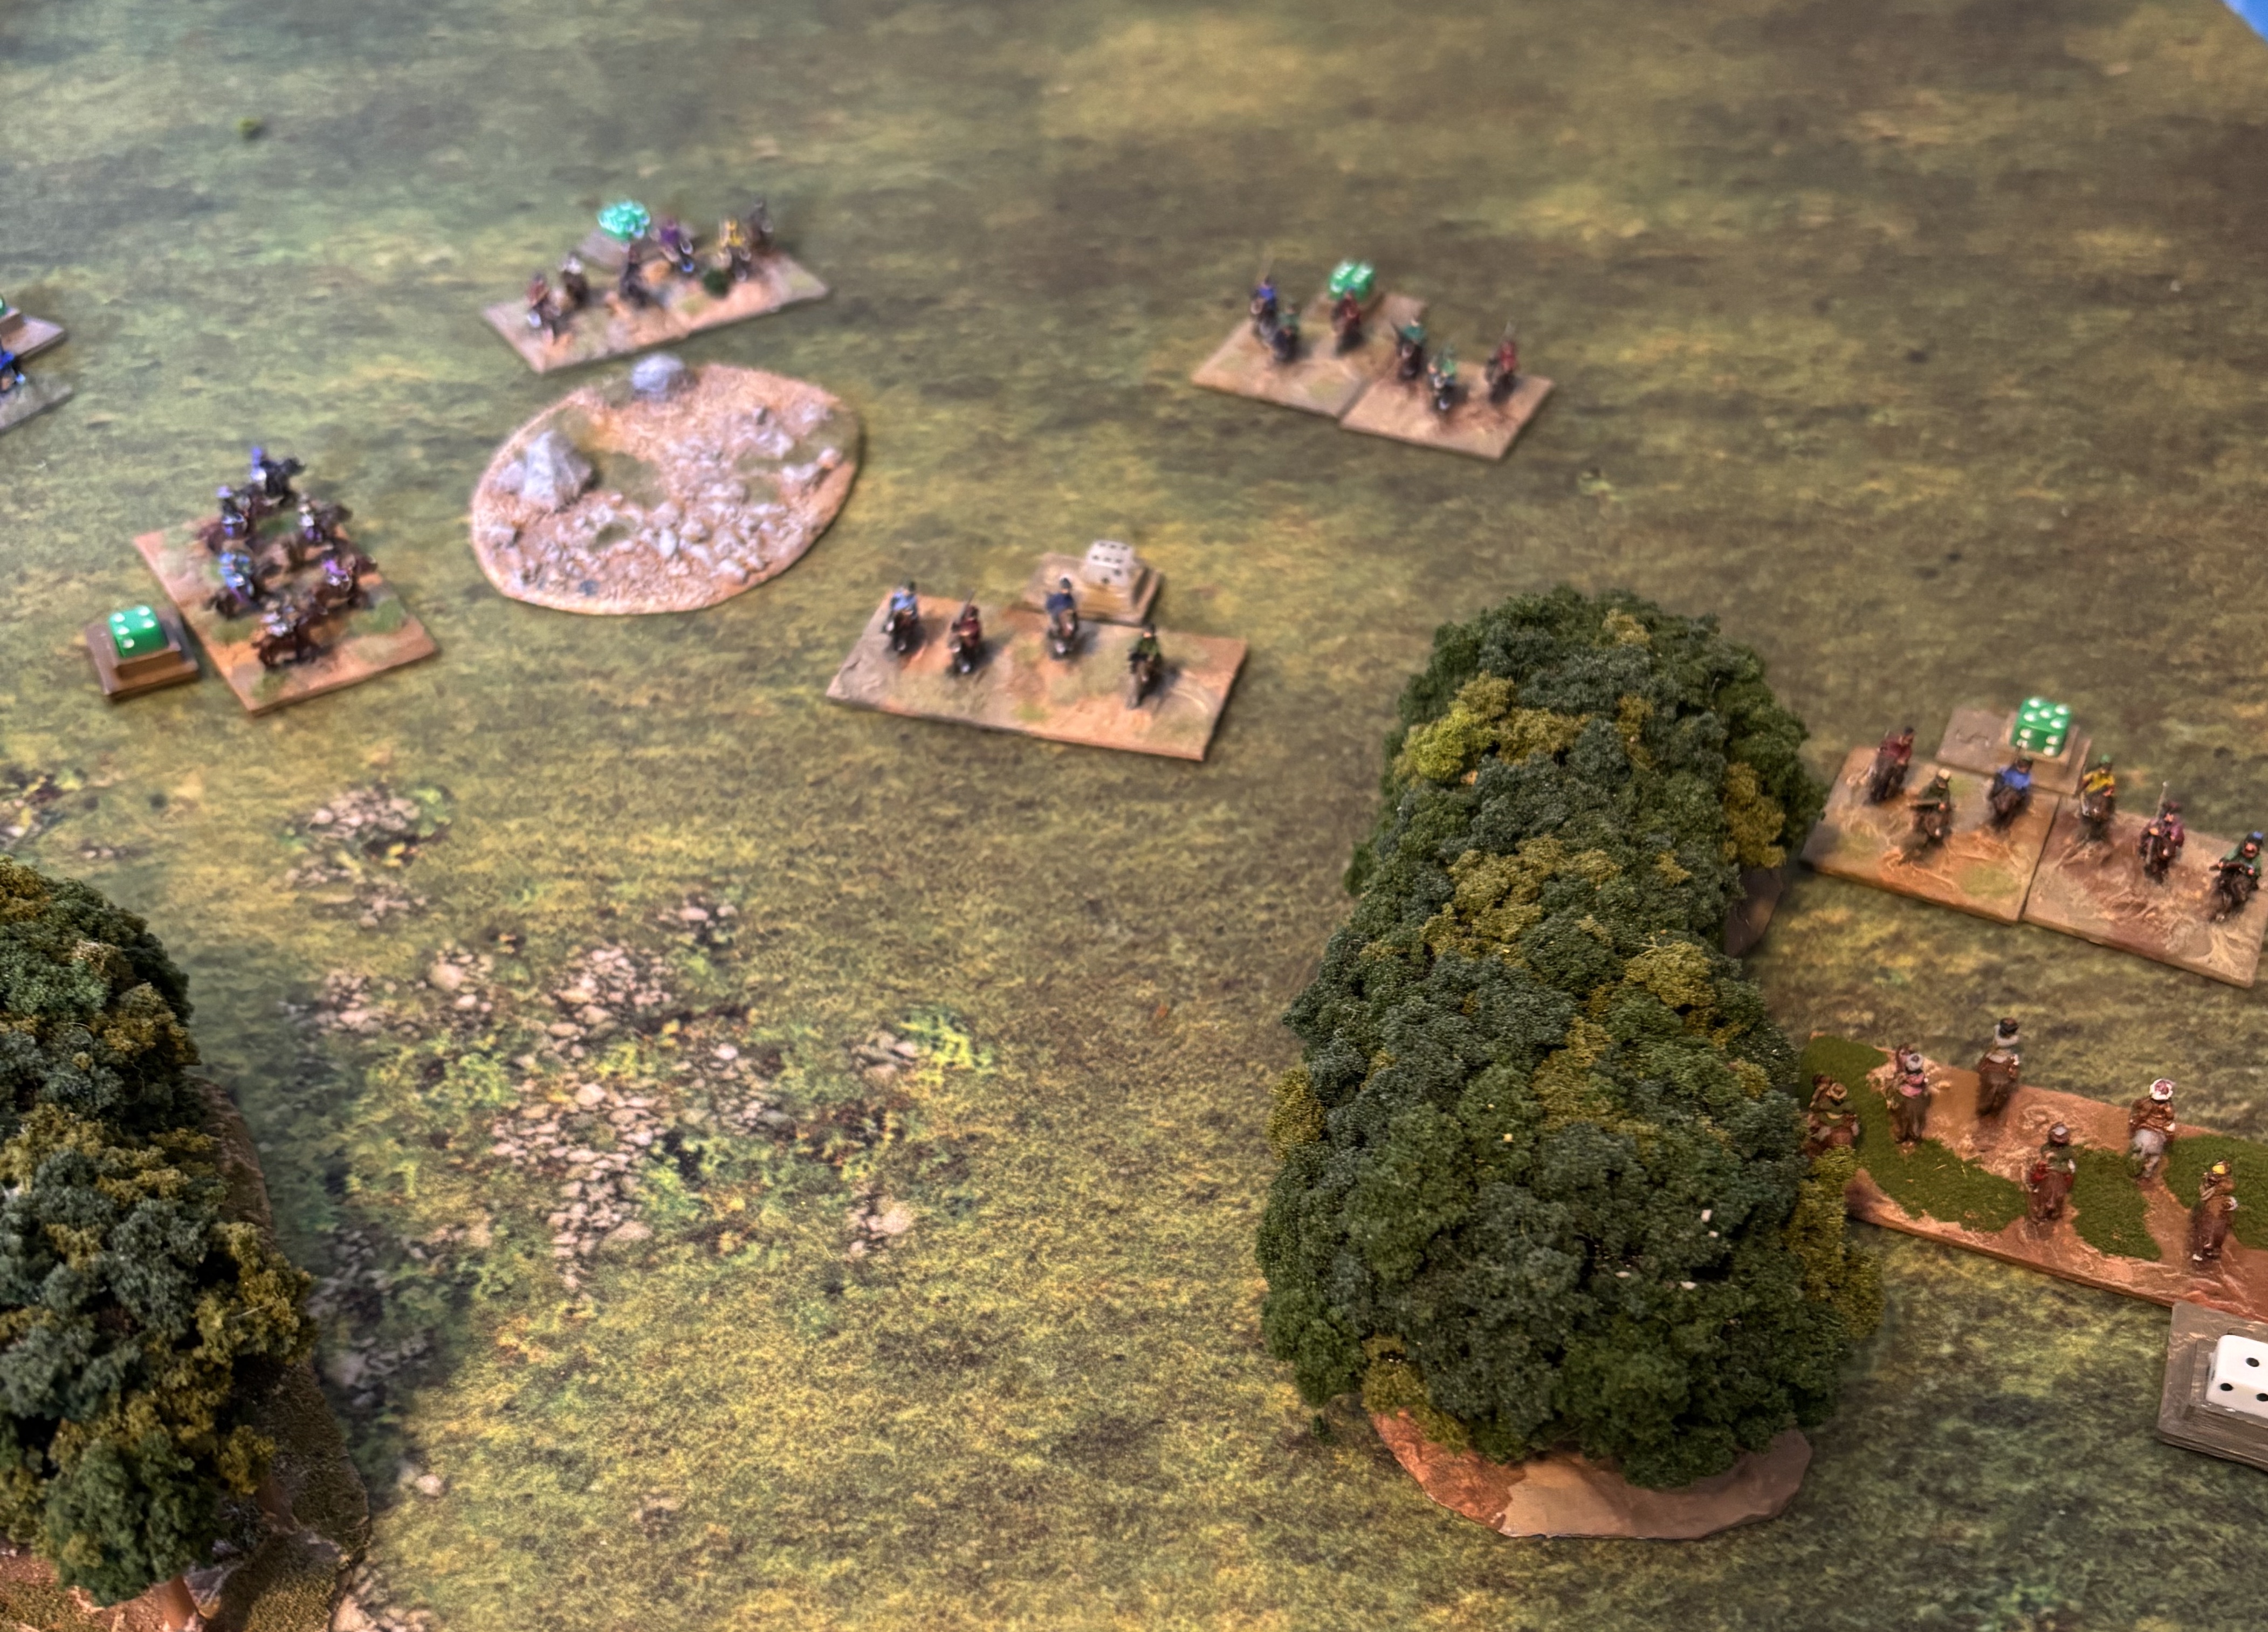
I set up a scenario based on a Russian column advancing towards a small Tatar settlement. A single road (little more that a muddy track) crossed the table and there were scattered woods and areas of broken ground.
The Russians would have three contingents; a Dragoon company supported by a field gun, and two sotnyas of Cossacks.
The defending Tatars would have two companies of cavalry with a single unit of militia holding the village and counting as a company on its own.
 |
| The field of battle seen from the Tatar side |
I used colour coded mini-dice to distinguish between the various types of unit on the table. In the picture below we see, from left to right, a white die indicating one of the more experienced groups of Tatar warriors (classed as Veteran Dragoons), a blue die showing that the militia (Raw Shot) were at full strength (they would switch to a yellow die when at half-strength) and a green die showing another, less-experienced Tatar unit (classed as Dragoons). The numbers shown on the dice would be reduced as casualties were taken. In addition, silver mini-dice indicated contingent commanders.

 |
| Tulpar's contingent of Tatars prepares to move forward |
 |
| Tatars (centre) surrounded by already-weakened Cossacks including the wavering Horobet |


6 comments:
What a coincidence. I'm currently painting some Not Ottomans to go with my Risk figure Russians and Swedes.
And funnily enough I was peering at my 2mm blobs to see which might suitable to use for GNW. I wouldn't have a clue what colour(s) Ottomans are! I'm imagining something colourful.
I look forward to seeing what Risk Ottomans look like Alan.
Martin, are you coming to Joy of Six? If so I have something for you to go with your 2mm stuff.
In retrospect I should point out that I didn't actually use any of my (Irregular Miniatures) Ottoman Turk army in this game! The Tatar cavalry were actually Baccus 6mm Huns and the militia was a small unit made up from some left-over Russia streltsy from the same manufacturer.
I am hoping too. Originally I was supposed to be at COW this weekend but my back has gone so I can't drive and I'm hobbling around with a stick(!). If I'm up to it I'll come and hobble around JO6 instead on Sunday.
Post a Comment